Ema Hossain Design Portfolio

Take a look at my other blog EmaHossainDesign Portfolio to see more about my design work

Floral table decoration

I made a cheap but lovely looking table decoration recently using two reduced bunches from the local supermarket and a white painted pail, from a pound shop.


The flowers and the pail cost £5, and the pail can be reused


Ready to begin


First, I removed the leaves from the flowers


Removing the leaves means it will stay fresher in the water for a bit longer

The centre of the arrangement was made by taking the centre rose stem then placing the other stems diagonally to it
Here is the second rose
The court one has been added here
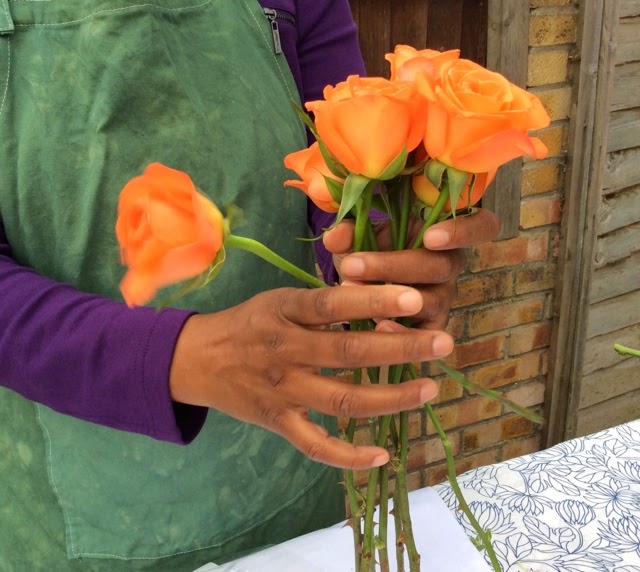
Florists have the technique mastered so they can create a fairly tight wrap, but you will see that you can still create a nice arrangement with loosely held one

Here are all the flowers in place and now to tie the stems together

I cut the string long enough to be able to wrap around the stems several times and tie it securely


If you have a go at this don't worry too much it your rose stems look like they are not staying together, once you have bound the twine around, you can gently nudge the roses and stems into place before making it securely held by the string.


I wrapped the string around several times 


Now I can begin to add the chrysanthemum flowers


I arranged the flowers around the edge of the roses, holding the stems in place


The contrasting colours look pretty together


The final arrangement will look like this


I secured with a little more string and then cut the stems down so that they would fit the white display pail

 
Here it all looking simple but lovely, you can Ofcourse add more decorations to the pail, maybe tie ribbons around it


I had made this lovely decoration  for my sister to give her the next day.
I decided to give the flowers as a posy and keep the pail for more flower arrangement making.
I kept the flowers overnight in water and the next morning wrapped them I tissue paper and ribbon making a delightful floral gift which she loved.


my new work apron

I dyed a plain cream cotton apron in the green dye bath used yesterday. After the t-shirts had been removed, I put the apron in,  however I did not wash or stir the apron in the dye bath, and this created a blotchy look.
Blotchyness is caused by not mixing well and also if the sizing on the fabric applied by the manufacturer has not been washed out.

This could be rectified by washing the apron, removing the dye and redye-ing however, I decided to keep it as it is, it looks like an old well used apron instead of a new on, which I liked.


My green hand dyed work apron


Tie dye t-shirts green onto pink

Here I am creating a subtle tie dye pattern on t-shirts that have already been dyed shades of pink. I had some green powder left and decided to see what the effect would be.


The t shirts were folded and tied with string


I used half a packet of dye but still added the required amount of salt as that salt helps the fabric pores open up so that the dye can bond to the fabric.


I made up the dye bath, in a small true outside in the garden

The t shirts were added and left in the bath for a few minutes

I removed them after 5 mins


I didn't want to colour them green but just add a tint, so then 


Placed them in another trug

Adding water to wash off excess dye


Then they were ready to be taken out and squeezed


You can see how the folds and tied areas took up a different amount of dye, creating the look


Here are the two t shirts drip drying before washing.
If I had kept them in longer the patterning would have looked stronger but the pink would have also lost brightness.